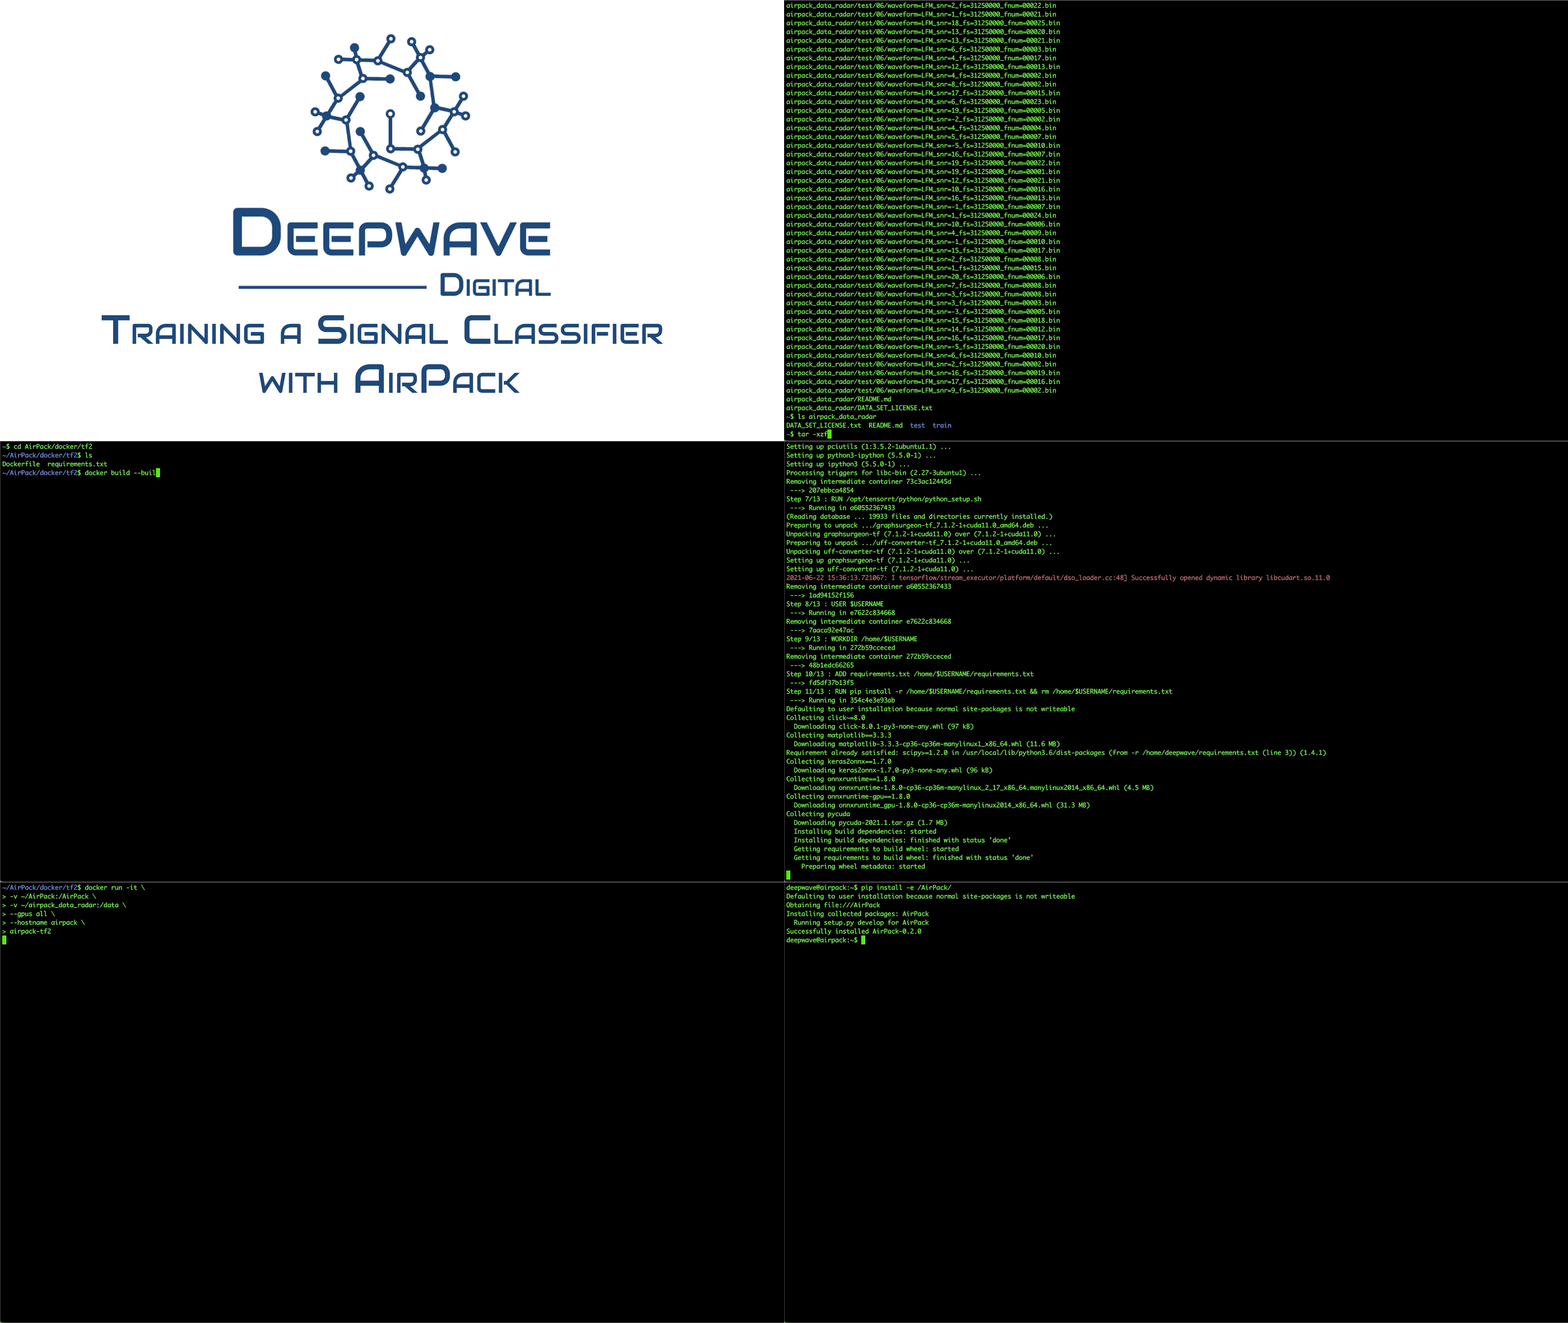
AirPack Installation
The method of installing the AirPack toolbox is different for the training computer and the AIR-T. This is because a docker container is used on training computer while an Anaconda virtual environment is used on the AIR-T.
 Click on the above video to make it large and open in new window.
Requirements
Training Computer - A Linux system with an NVIDIA GPU card. The GPU must support CUDA Compute Capability 3.5+. See the List of CUDA-enabled GPU cards.
AIR-T - Running AirStack 0.4+
Installing on the Training Computer
Preinstallation Tasks
Make sure that the above requirements are satisfied.
Install Docker - The official instructions for installing Docker are found here.
Install the NVIDIA Cuda Drivers for your GPU - See the CUDA Toolkit Archive here.
Install NVIDIA Docker Container Toolkit - The NVIDIA Docker Container Toolkit documentation is found here.
Download Training Data - Download a data set to the training computer from the Software Downloads area in the Deepwave Developer Portal. Note that you will need a login and have an AirPack license. The data sets can be large files so they may take some time to download.
Installing a Data Set
Training data is downloaded separately from the AirPack API and should be mounted to the
/data directory. You must download a data set prior to performing any training
operation. To setup AirPack with training data:
Step 1 - Make sure you have downloaded the data according to the Preinstall Tasks above.
Step 2 - Extract the tar.gz file using the
tarcommand below, where<data_file.tar.gz>is the name of the file you downloaded, e.g.,airpack_data_radar.tar.gz.$ tar -xzf <data_file.tar.gz>
This will extract the data into a folder with a structure similar to that shown in the Folder Structure for Data sub-section of the Working with Data Sets section. For the
airpack_data_radar.tar.gzexample above, a folder will be created with the nameairpack_data_radarStep 3 - The folder containing the extracted data set must be mounted using the
-voption each timeruncommand is used to create the Docker container.
Create AirPack Docker Image
The creation of the Docker image varies slightly depending on the training framework,
e.g., Tensorflow 1 (TF1) or Tensorflow 2 (TF2). For the purposes of the instructions
below, insert your framework where you see <framework>.
Build the Docker container - Open a terminal on the training computer and build the Docker image. This can take a while depending on the speed of your computer. You must substitute your preferences into any parameter
<>. The<framework>will betf1,tf1, etc. The--build-arg UID=$(id -u)will give thedeepwaveuser in the container the same UID as your user on the host. This will allow you the same read/write permissions for volumes mounted in the container from the host. You may use whatever you want as the<docker-image-name>, e.g.,airpack-tf2.$ cd AirPack/docker/<framework> $ docker build --build-arg UID=$(id -u) -t <docker-image-name> .
Verify the Docker Image
We will test a few things to ensure that the image was created correctly. First, you must
run the container. From the terminal, enter the following command. Note that the -v
option is being used twice to mount two volumes from the host computer into the docker
container, one for the AirPack package and one for the data.
$ docker run -it \
-v <path_to_AirPack>:/AirPack \
-v <path_to_AirPack_data>:/data \
--gpus all \
<docker-image-name>
In the above command:
<path_to_AirPack>is the path to the AirPack folder on the host<path_to_AirPack_data>is the path to the AirPack data set.<docker-image-name>is the name of the docker image assigned when the image was created in the previous step, e.g.,airpack-tf2.
Test 1: GPU connectivity
Once the container starts, type lspci | grep NVIDIA. This should produce an output
similar to the following:
$ lspci | grep NVIDIA

03:00.0 VGA compatible controller: NVIDIA Corporation GP100GL [Quadro GP100] (rev a1)
03:00.1 Audio device: NVIDIA Corporation Device 0fb1 (rev a1)
Test 2: Verify Mounted Volumes
To verify that the /AirPack and /data volumes were properly mounted, do the following:
To verify
/AirPackmounted properly:$ ls -lash /AirPack 12K -rw-r--r-- 1 deepwave deepwave 8.3K Jun 16 19:29 DATA_SET_LICENSE.txt 8.0K -rw-r--r-- 1 deepwave deepwave 7.4K Jun 16 19:29 TERMS_OF_USE.txt 4.0K drwxrwxr-x 5 deepwave deepwave 4.0K Jun 18 19:50 airpack 600K -rw-r--r-- 1 deepwave deepwave 599K Jun 18 16:45 airpack_20210618.pdf 4.0K drwxrwxr-x 5 deepwave deepwave 4.0K Jun 18 19:50 airpack_scripts 4.0K drwxrwxr-x 4 deepwave deepwave 4.0K Jun 18 19:50 docker 4.0K -rw-r--r-- 1 deepwave deepwave 79 Jun 18 16:45 release_notes.txt 4.0K drwxrwxr-x 2 deepwave deepwave 4.0K Jun 18 19:50 tests
To verify
/datamounted properly:$ ls -lash /data 12K -rw-r--r-- 1 deepwave deepwave 8.3K Jun 6 19:25 DATA_SET_LICENSE.txt 4.0K -rw-r--r-- 1 deepwave deepwave 747 Jun 6 19:25 README.md 4.0K drwxrwxr-x 14 deepwave deepwave 4.0K Jun 6 19:25 test 4.0K drwxrwxr-x 14 deepwave deepwave 4.0K Jun 6 19:25 train
Test 3: Installing the AirPack Python Package
The AirPack packages will be installed using pip. The command below assumes the AirPack
folder was mounted to /AirPack in the container, according to the instructions above. To
install the package, enter the following command within the docker container:
$ pip install -e /AirPack
which should produce the following output:
$ pip install -e /AirPack
Defaulting to user installation because normal site-packages is not writeable
Obtaining file:///AirPack
Installing collected packages: AirPack
  Running setup.py develop for AirPack
Successfully installed AirPack-X.X.X
Installing with the -e option will allow you to edit code from both inside and outside
of the container, as well as allowing you to import airpack from python and use it for
your own custom code. You must run pip install -e /AirPack each time you start a new
container.
Congratulations, you are now ready to Train the Model.